
- Pick out your chosen scarf. Obviously this will come down to your own taste, but make sure it’s large enough to wrap all around your body. A super large scarf will give a flowy, oversized look. We used a rectangular scarf, but a square-shaped one will also work. 2. Fold your scarf in half with right sides (RS) together along the width. 3.Place your measuring tape at the top of the scarf on the horizontal fold. Mark the middle using a pin or some fabric chalk. Next, place your measuring tape at the horizontal bottom and mark the middle again. Now, draw a line between both marked points to create a vertical line. This will be the opening and front.
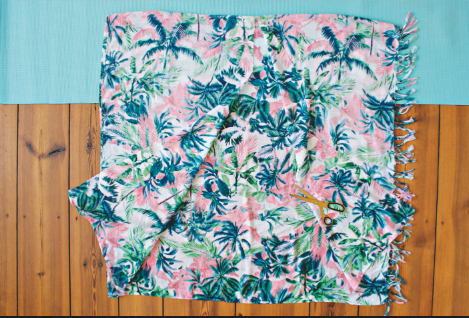
4. Cut along the marked folded line from the bottom to the fold, making sure you only cut the top fabric layer. This is your opening.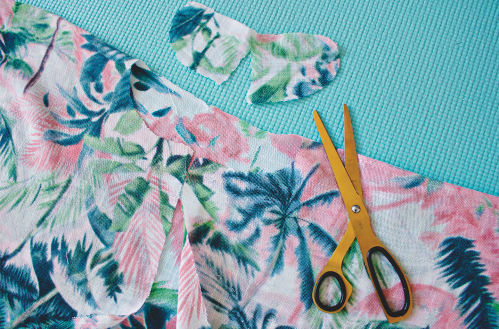
5. Create a simple neckline by cutting out a small oval shape with your scissors. You can use some fabric chalk or a few pins to decide the exact shape before you start cutting out.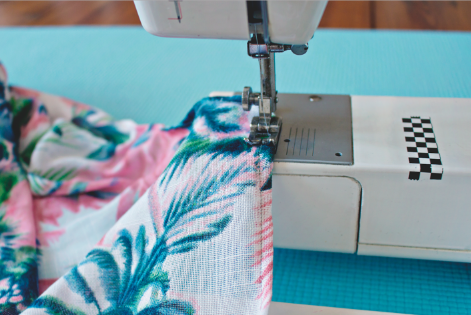
6. Fold the edges of the front opening and neckline to the inside and, using your sewing machine or a needle and thread, hem the front opening and neckline.
7. Place the kimono on a flat surface with the opening on the top. Place your measuring tape along one vertical side and pin the sides together, keeping the first 40-60cm (16-24”) open for the arms. Repeat on the other side.
8. Use your sewing machine or needle and thread to sew both sides together. We sewed our kimono RS out to make sure the fringe would be visible once finished. If your scarf doesn’t have fringes, you’ll find it easier to sew RS together.
For more easy-to-follow how-tos and the latest crafting trends subscribe to Mollie Makes